

how to use ninja blender
Ninja blenders have a cult following, but did you know most people don't even use the best features their appliance has to offer? Sure, you can make a delicious smoothie by pressing only the "medium-speed" button, but your blender can do so much more than that.
In this guide, we're showing you how to use a Ninja blender properly. We will walk you through how to set up the machine and how to get the most out of the many blending settings it comes with.
How to Use a Ninja Blender: Step-By-Step
There are many types of Ninja blenders. Some are bulky and look like they belong in a professional kitchen, while others are more compact and great for day-to-day tasks. But they all have one thing in common: they work more or less the same way.
Step 1: Assemble Your Blender
Start by assembling your Ninja blender. Whether you are using the tall pitcher that came with the Ninja Professional Blender or the small single-serving cup, you need to assemble all the components in the correct order.
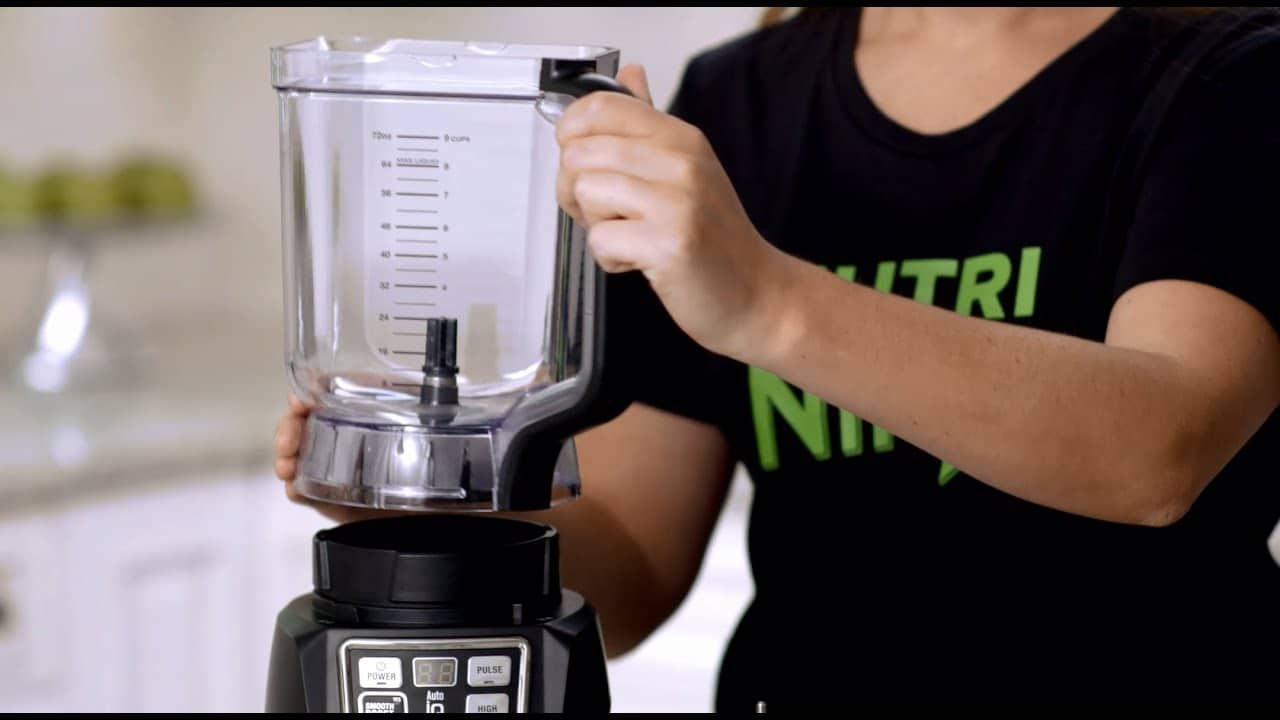
Pitcher
First, place the stacked blade assembly on the gear inside the pitcher.
Then, rest the pitcher on the motor base. One of the corners of the pitcher should be directly on top of the Ninja logo on the base.
Next, rotate the pitcher clockwise. You should hear a click when you do this.
Keep in mind that the Ninja blender has been designed to be easy to use for both right- and left-handed people. Thus, you can lock the pitcher in place so that the handle points to the right or to the left side of the appliance.
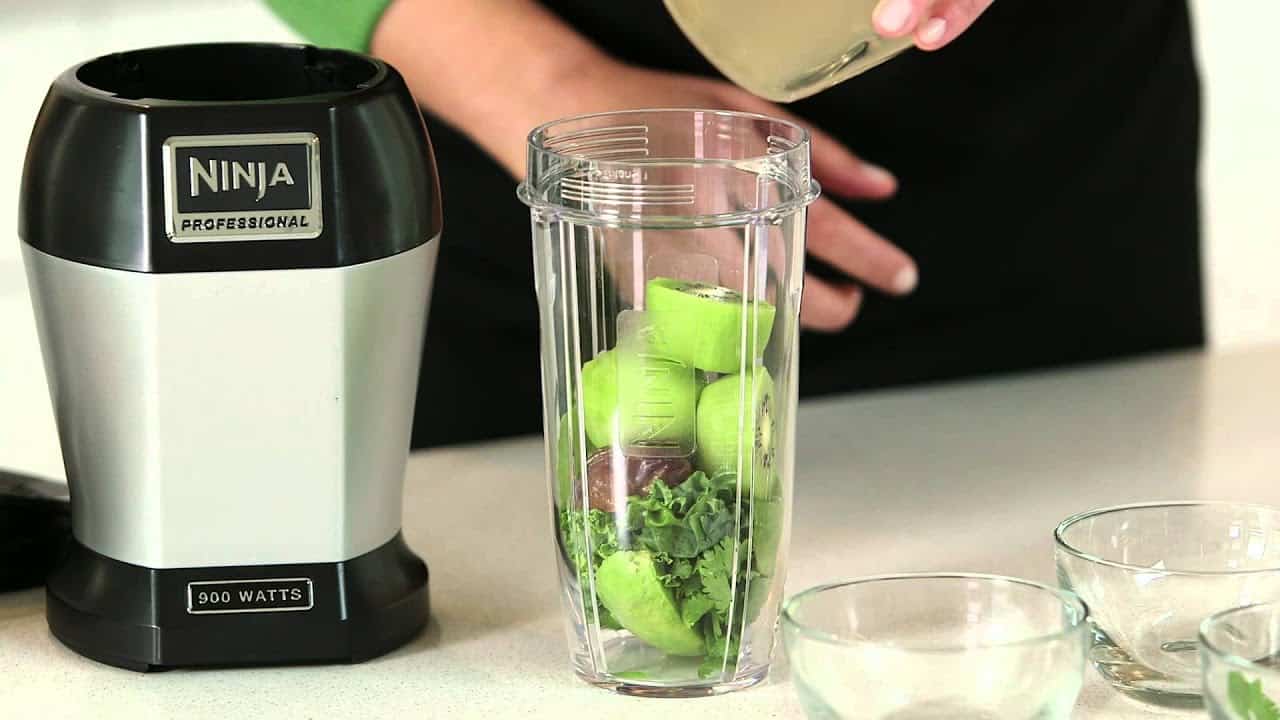
Single-Serve Cup
Blade assembly is slightly easier with the Nutri Ninja single-serve cup.
Simply rest the extractor blades on the cup, aligning them with the opening, and screw them on tight. The cup should now be completely sealed.
Of course, you don't have to mount the single-serve cup on the motor base just yet, only after you've filled it with your ingredients.
Step 2: Plug the Motor Base
Next, plug the motor base into a power outlet. Don't press the power button just yet, and be very careful if handling the blades from now on.
Step 3: Add Your Ingredients
Now comes the time to add your ingredients. Ninja blenders are amazingly versatile and can prepare a lot more than just smoothies from frozen fruits. You can make dips, salad dressings, chop hard ingredients, and so on.
Don't be afraid to experiment with different ingredients. That's the best way to get to know your Ninja blender as well.
Just be careful not to overfill your container, whether you're using a pitcher or cup. If you pay close attention, there should be a "fill to here" line. Don't go over it, or else your Ninja blender will have a hard time blending the ingredients.
Step 4: Close the Lid
Once you've added all your ingredients, you can close the lid.
Pitcher
If you're using a pitcher, press the release button on top of the lid. In some models, the handle will jut out.
Then, place the lid on the pitcher and lock it in place. The two white arrows (one on the lid, one on the handle of the pitcher) should be aligned.
Single-Serve Cup
After filling your cup and twist-locking on the blades, you can turn the cup upside down and lock it on the motor base.
Ninja blenders don't start working until the cup has been secured into place, so make sure you're screwing on the cup clockwise until you hear a click.
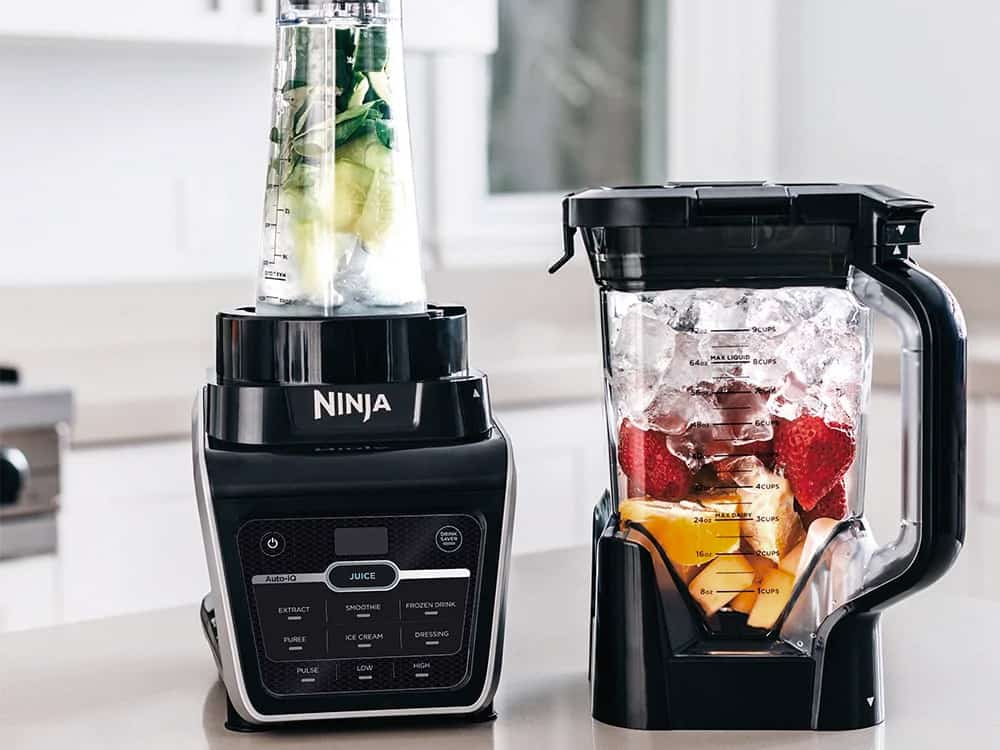
Step 5: Choose a Blending Setting
Ninja blenders are notorious for offering a lot of different blend settings. Some are suited for the pitcher, others for the cup, and others still for both. You'll know which ones work with what container when you lock them onto the base and see what buttons light up.
No matter which Ninja model you have, you will certainly find a few of the following settings on the control panel. Choose the one that best fits your recipe.
Low, Medium, and High
Both the complex Ninja Mega Kitchen System and the more compact Nutri Ninja blender have a low-, medium-, and high-speed setting. Sometimes, they're shown as speeds 1, 2, and 3.
The low and medium speeds are great for blending fresh fruits and veggies with a little bit of liquid. They don't make too much noise, so they're perfect for preparing a refreshing and nutritious breakfast in the morning.
The high-speed setting, on the other hand, is far more powerful (and noisy). You can use it when you need to add ice or iced foods to your blends. For instance, you can make this delicious peanut butter and banana "nice cream" using the high-speed setting of your Ninja blender.
Pulse
The pulse setting is also extremely powerful. Use it when you need max speed for a short amount of time (so as not to completely blend your ingredients). It works the exact same way as the pulse setting on a food processor.
You can use the pulse setting to break up (but not blend) large chunks of ice, for example.
Auto-IQ Puree
One of the smart features the Ninja professional blender has is called Auto-IQ Puree. You can use it for exactly that: pureeing foods. It's not as intense as the high-speed setting, but it still turns cooked foods into a smooth paste.
Use this setting to make creamy soups or spreads like hummus.
Auto-IQ Ultra Blend
This setting is exclusive to the Nutri Ninja specific model and replaces the high-speed setting. It allows you to make the perfect smoothie with frozen fruit and iced drinks like margaritas every time.
Auto-IQ Blend
Similarly, the Auto-IQ Blend is only available for the Nutri Ninja single cups. It also prepares delicious smoothies but can only be used with soft, fresh ingredients.
Auto-IQ Crush
Newer Ninja blenders come with an Auto-IQ Crush setting. It harnesses the power of the total crushing technology to pulverize very hard foods (for example, frozen veggies, nuts and seeds, or ice) into smaller chunks.
Step 6: Pour Your Drink
Once that's done blending, you can pour yourself a drink.
Wait for the blades to stop spinning. Then, rotate the pitcher or cup counter-clockwise until they come free from the blender base.
Keep in mind that, if you're using the stand-up pitcher, you should always pour the drink through the spout. Don't pour the drink without the lid on. Otherwise, the sharp blades could fall off and cut you.
Step 7: Clean Your Ninja Blender
Lastly, you should clean your Ninja blender right after using it. We've written an entire guide on how you can do this quickly and efficiently.
How to Use a Ninja Blender as a Food Processor
If you bought the Ninja Kitchen System, you also got a food processor cup. When you mount it on the base (in the exact same way you would mount a pitcher), you can use this Ninja appliance as a food processor.
The best settings to use with this attachment are the pulse, high-speed, and puree. Why not make some indulgent baked falafels using the puree feature?
My Ninja Blender Won't Turn On. What to Do?
If you notice the power button flash red and can't turn on your Ninja blender, try the following troubleshooting steps.
See If the Parts Are Assembled Properly
If you see a red light, there is a chance you didn't assemble all the parts in the correct order. Open the lid, remove the blades from the Nutri Ninja cup, pitcher or food processor, and reassemble everything—this time paying close attention to how each part gets fitted. More often than not, that is all you have to do.
Check the Container Is Mounted Correctly
If the stacked blade assembly isn't spinning after you click the power button and the red light is still on, check to see if the pitcher (or one-serve cup) is mounted correctly. They probably didn't lock all the way to the base.
Make Sure the Lid Is Locked
Lastly, if you've done those two things and your Ninja blender still won't start, make sure that the lid is locked. Are the two arrows aligned? If not, turn the lid so that they point at each other.
how to use ninja blender
Source: https://thedaringkitchen.com/how-to-use-a-ninja-blender/
Posted by: simonsdred2002.blogspot.com
0 Response to "how to use ninja blender"
Post a Comment